Compact 11 Lite (22000.168)
No TPM Required
Updated build for the Lite and SuperLite Loving, Performance Minded Enthusiasts of the TeamOS Community.
Added UWP App Support, XBOX Services, Azure AD, and more!
Compact 11 Lite (22000.168) has support for:
Bluetooth ֍ WLAN Connectivity ֍ LAN Printing ֍ Network Sharing
Printing ֍ Mobility Center ֍ Speech ֍ Voice Recognition
On Screen Keyboard ֍ Tablet Mode ֍ Wireless Screen Casting
All Keyboard Nationalities ֍ All Administrative Tools ֍ Metered Connection
Safe Mode ֍ God Mode ֍ MS Store ֍ MS Account ֍ Language Packs
UWP Apps ֍ XBOX Services ֍ Azure AD ֍ Game Mode ֍ Developer Mode
Remote Access ֍ Right Click cmd and Powershell on Desktop
Right Click cmd and Powershell in Explorer ֍ Lock Screen Control
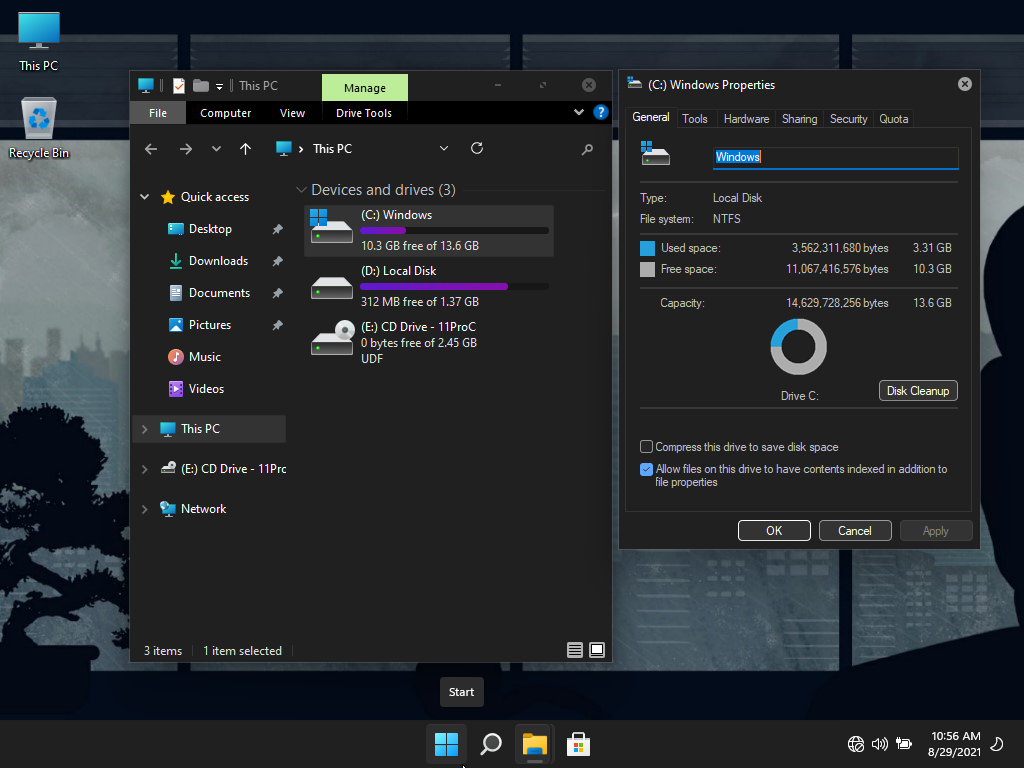
Small Footprint (3.3 GB Installed) ֍ And More!…
Pre Installed Software:
֍ Theme Patcher ֍ 21 Themes ֍
֍ Custom Shortcuts for Update Service and Windows Firewall ֍
Optional Software:
֍ Activator ֍ Chrome ֍ FireFox ֍ Edge ֍
֍ TinyWall Firewall ֍
Spoiler: More Info
DESCRIPTION:
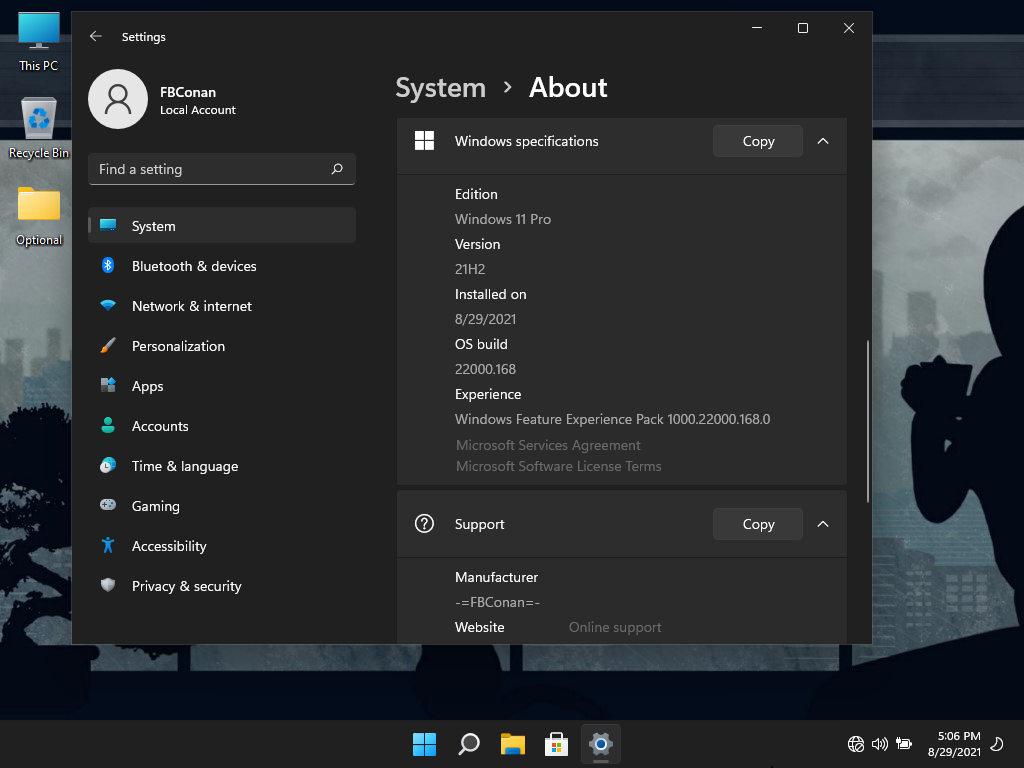
ISO Size: 1.56 GB
Installed Size: 3.3 GB
Author: @FBConan
Supported Languages: English during install, Additional Languages after
Architecture: 64 Bit
Edition: Pro
.NET Framework 3.5: Pre-Installed
DirectPlay: Enabled
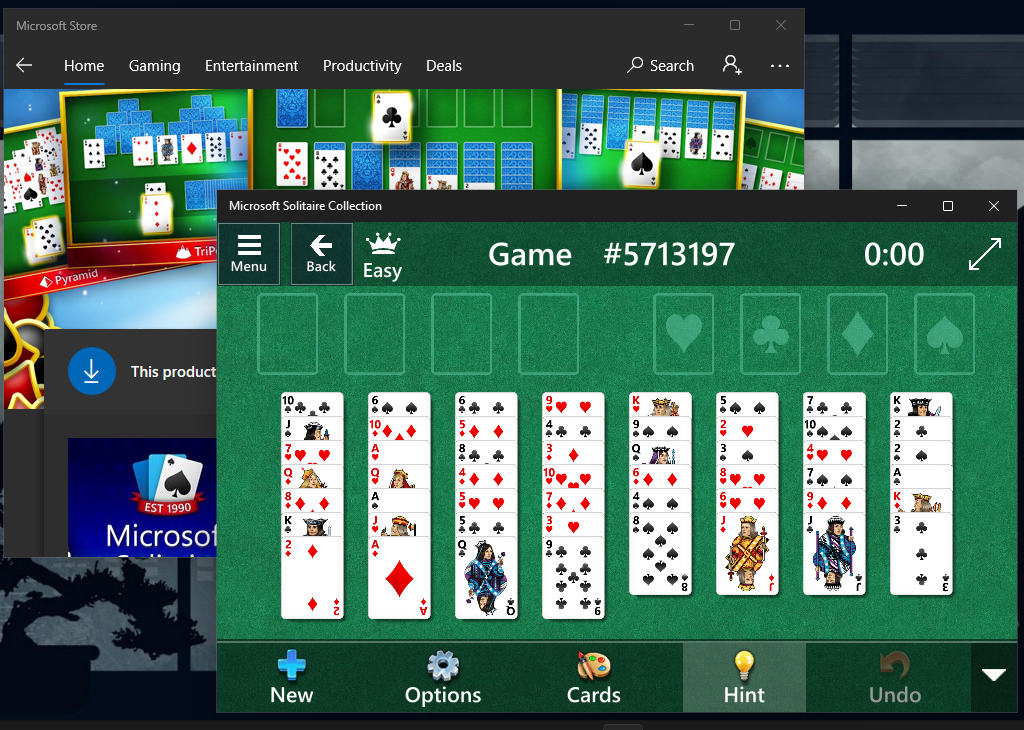
MS Store: Included
SMB1: Enabled
SNMP: Enabled
Network Adapter Drivers: Included
________________________________________________________________
MINIMUM SYSTEM REQUIREMENTS:
RAM: 2 GB
Hard Disk Space: 8 GB
________________________________________________________________
INSTALL NOTES:
Create bootable USB with Rufus Tool, burn to DVD, or install in Virtual Machine
_____________________________________________________________
ACTIVATION:
Not pre-activated, Activator included on Desktop if needed
_____________________________________________________________
REMOVED:
Defender
Cortana
WinSXS
WinRE
Edge
Backup and Restore
Mixed Reality
Hyper-V
OneDrive
Additional Windows Features
Bitlocker
And more…
________________________________________________________________
DISABLED:
Power Throttling
Ads
Automatic Maintenance
Download Blocking
Timeline
Error Reporting
UAC
Telemetry
Hibernation
PageFile
Windows Firewall
________________________________________________________________
ADDITIONAL INFO:
This build cannot receive future OS Features and Updates, and is intended to be that way. Because of this, the OS will remain stable, and the size of it will not grow exponentially like full Windows installs tend to, but remain the same.
To all interested members, thank you for your support, but please be aware that this is a light version of Windows. It does not have every feature in it, many things have been removed to allow it to function with greater performance and less system requirements than Full Windows can offer. If it is missing a feature, or service that you think you need, chances are it was removed intentionally, and can’t be brought back. This Windows was designed with most users in mind, which is why it has most essential features and services included. I try to make builds that are highly functional, yet still very light as far as resources and HDD space requirements are concerned. You have been warned. Please don’t ask me to add things, fix things, change things, or enable things. I’m not going to respond, or start giving tutorials, use Google. I sincerely hope you enjoy my builds, I am very passionate about light Windows, and hope they provide a good experience for you. If not, maybe another light version will better suit your needs, or perhaps full Windows is what you require.
______________________________________________________
**SPECIAL NOTES** (PLEASE READ CAREFULLY)
You will need to ENABLE the Windows Update Service if you want to install additional language packs, install apps from the MS Store, or to let Windows automatically download and install drivers. It is disabled by default, but there is a shortcut to enable it in the start menu (in the ‘tools’ folder).
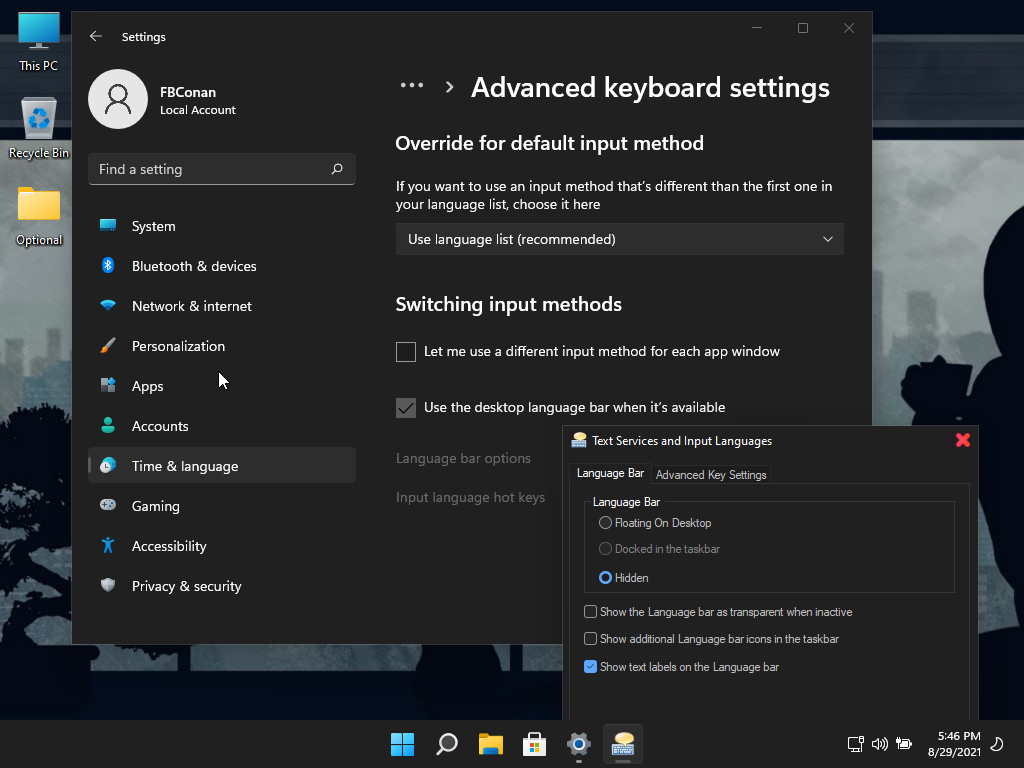
If you install an additional language pack, the Language Bar Indicator that shows your Keyboard language on the taskbar is glitchy, so just follow these steps to disable it from showing on the taskbar:
Go to Settings, Time & Language, Typing, Advanced Keyboard Settings, and set the options to match the picture below to hide the bar from showing on your taskbar.
Spoiler: Screen Shots
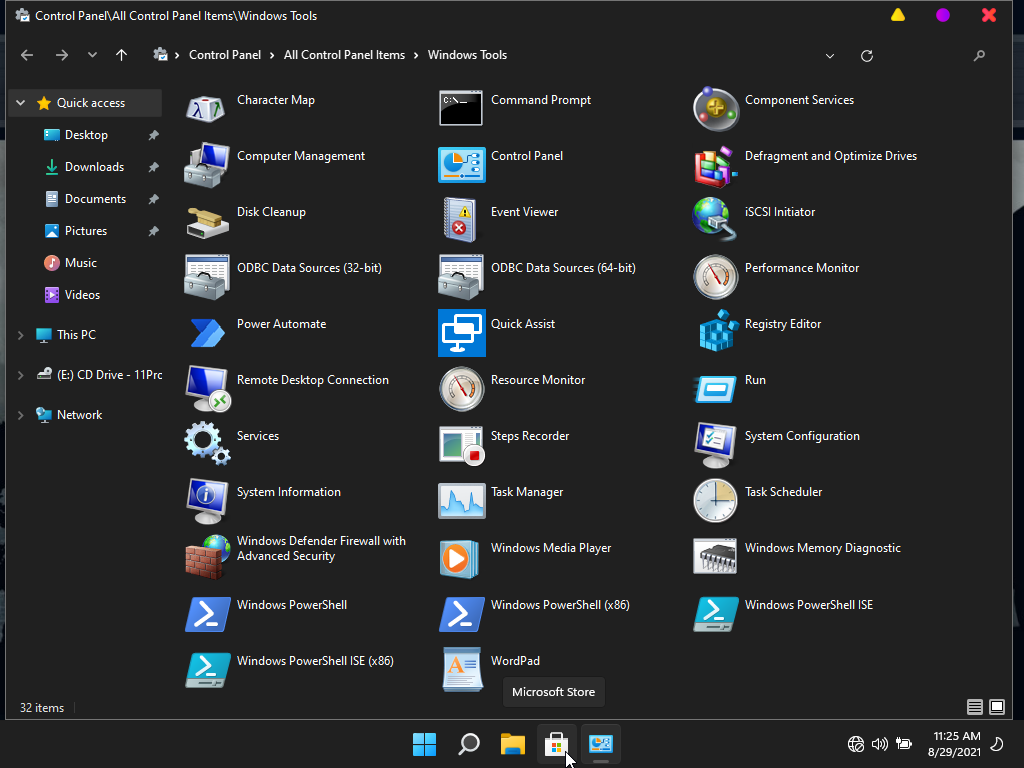
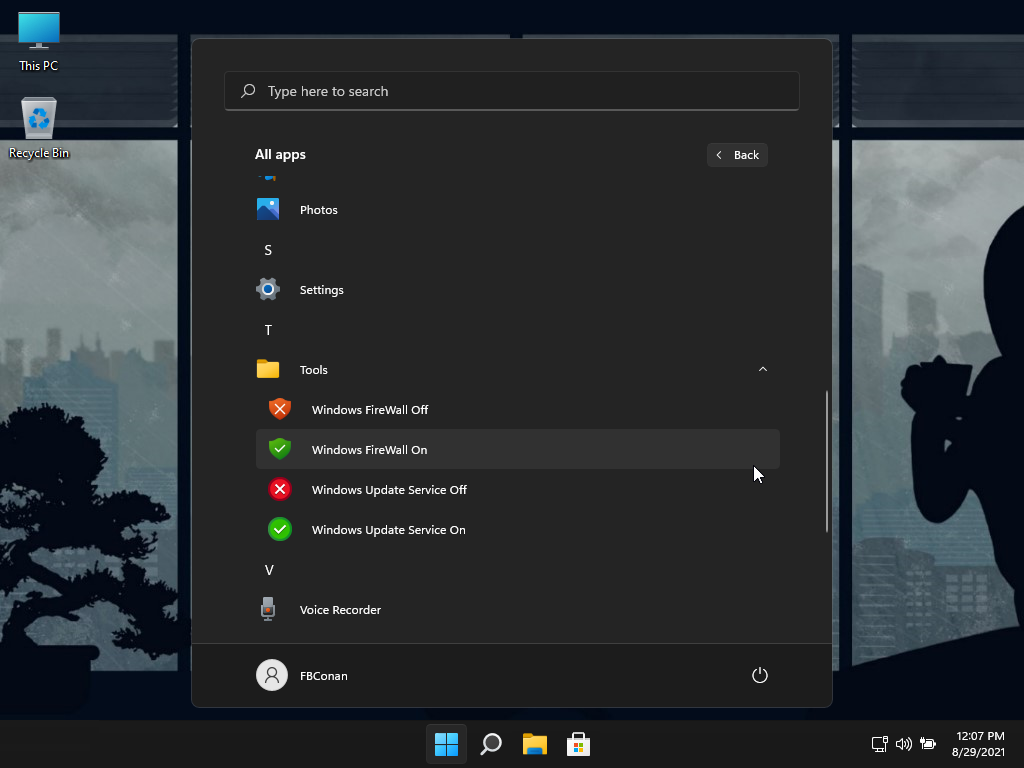
Spoiler: Windows Update Service Shortcuts Fix
Included in the Torrent is a Folder labeled ‘ProgramData’
Copy this folder to the root of your Windows Installation Drive (Most likely C:\)
And it will restore the missing shortcuts from your ‘Tools’ Folder in the Start Menu
Spoiler: Installation Issues?
The Windows Setup environment (boot.wim) in my releases is a basic, reduced version that saves hundreds of MB from the original MS boot.wim setup file.
Personally, I’ve never had a failed install, or setup issues on any of my PC’s, ranging from 7 year old Intel Laptops with HDD, to new laptops with Intel and AMD cpu’s, with NVME and SSD drives.
If you are having issues, please try the following with any of my custom builds, or any other custom build for that matter that you are having an issue installing on your pc (This was a PM I sent to a few users and it fixed their issues):
My first guess would be that when you used Rufus, you made the USB UEFI bootable, and your HDD in your Desktop where it isn’t working is partitioned using MBR. You could try making an MBR bootable USB, or a DVD instead.
If that doesn’t work, you can download a stock win 10 iso using MS’s media creation tool, open the iso from MS in poweriso, go into the sources folder, delete the ‘install.esd’ or ‘install.wim’ file. (but still keep the iso open in PowerISO)
Then using 7zip, extract my iso, and put the autounnated.xml file from my root folder, into the root folder of the iso you have open in PowerISO, and the install.esd file that’s in my sources folder, into the sources folder of PowerISO, then save as new iso. Try writing that to a USB. Should fix your issues.

You can drag files from File Explorer to PowerISO to copy over.
I also highly recommend that you copy the $OEM$ folder located in my iso’s ‘sources’ folder, to the PowerISO’s ‘sources’ folder before saving the new ISO, to transfer over any optional software included in my builds (ie, Web Browsers, activators etc.)
There have been many members asking me for a build like this, so guys, this one’s for you!

.
As always, with love,


![Windows X-Lite Windows 11 Superlite ‘Atomic 11’ v2.1 [WSA Edition] by FBConan](https://blogger.googleusercontent.com/img/b/R29vZ2xl/AVvXsEiGBEeSMsqw6weRX6TOuBAhhNkSMOpLvv-9zjspkwNDxA9luWQnc2udcq-Lb01C33s6gqSQuYxykplDCs-r1lkmzqLFTF9YFbCMID_uBgsHeHFQhNVLQRks9PDDROGNu7NNTtGSe6oKgRiu4uyYsvwHCXnyXKNVkQ8gnQe-PoeMRgdQCosxVRZltbTUtOU/w640-h516/Windows%20X-Lite%20Windows%2011%20Superlite%20%27Atomic%2011%27%20v2.1%20%5BWSA%20Edition%5D%20by%20FBConan.jpg "Windows X-Lite Windows 11 Superlite ‘Atomic 11’ v2.1 [WSA Edition] by FBConan")

%20Pre-activated.jpg "Windows X-Lite ‘Atomic 11’ v2 by FBConan Windows 11 22H2 Home (OS Build 22621.1992) Pre-activated")

%20%27ROG%20ULTIMATE%27%20Slim%20Jan2024%20Pre-Activated.jpg "Windows 11 (22631.3007) ‘ROG ULTIMATE’ Slim Jan2024 Pre-Activated")

%20bY%20Phrankie.webp "Windows 11 ‘Gamer Edition v3’ (22621.2283) bY Phrankie")
%20Special%20Preactivated.webp "Gamer OS Windows 11 Lite v2 (22621.2215) Special Preactivated")
%20PreActivated.webp "Windows 11 Super Lite ‘GSIB’ (22621.2134) PreActivated")